Friday, December 23, 2011

Gift Idea...T-Shirt Scarf

I love to make gifts for people!  It shows that you spent time thinking about it and also creating or crafting it.  If you are feeling craft challenged, this is the perfect idea to get you going.  I had pinned a cute scarf shown here (on pinterest, my current addiction) a while back and decided to make a couple for gifts.

The first, I made for my secret sister in MOPS.  I found this nice, purple, maternity T-shirt at Old Navy for a great price in their clearance area.  Then I followed the tutorial shown  here and wah lah...here it is modeled by Krista.  She guessed it was me a month ago.  It must have been my crafty gifts that gave it away.  Oh well, it was fun giving secretly.  I also loved my gifts given to me by my secret sister.  She even got crafty and made a nature photo piece spelling out my name.


The second scarf I made was for an anonymous gift exchange through Craftaholics Anonymous .  This fun blogger matched us up and sent us the contact info in order to email and later send the gift out.  This is a total surprise which adds to the magic of the season.  I hope my secret crafter liked her new scarf!  Here I am modeling it.  I need to figure out how to take cute pictures in a mirror, like lots of bloggers do.


So...what have you been crafting?  Merry Christmas!

I linked up at Skip to my Lou

Tuesday, December 13, 2011

Gingerbread Decorating House Party

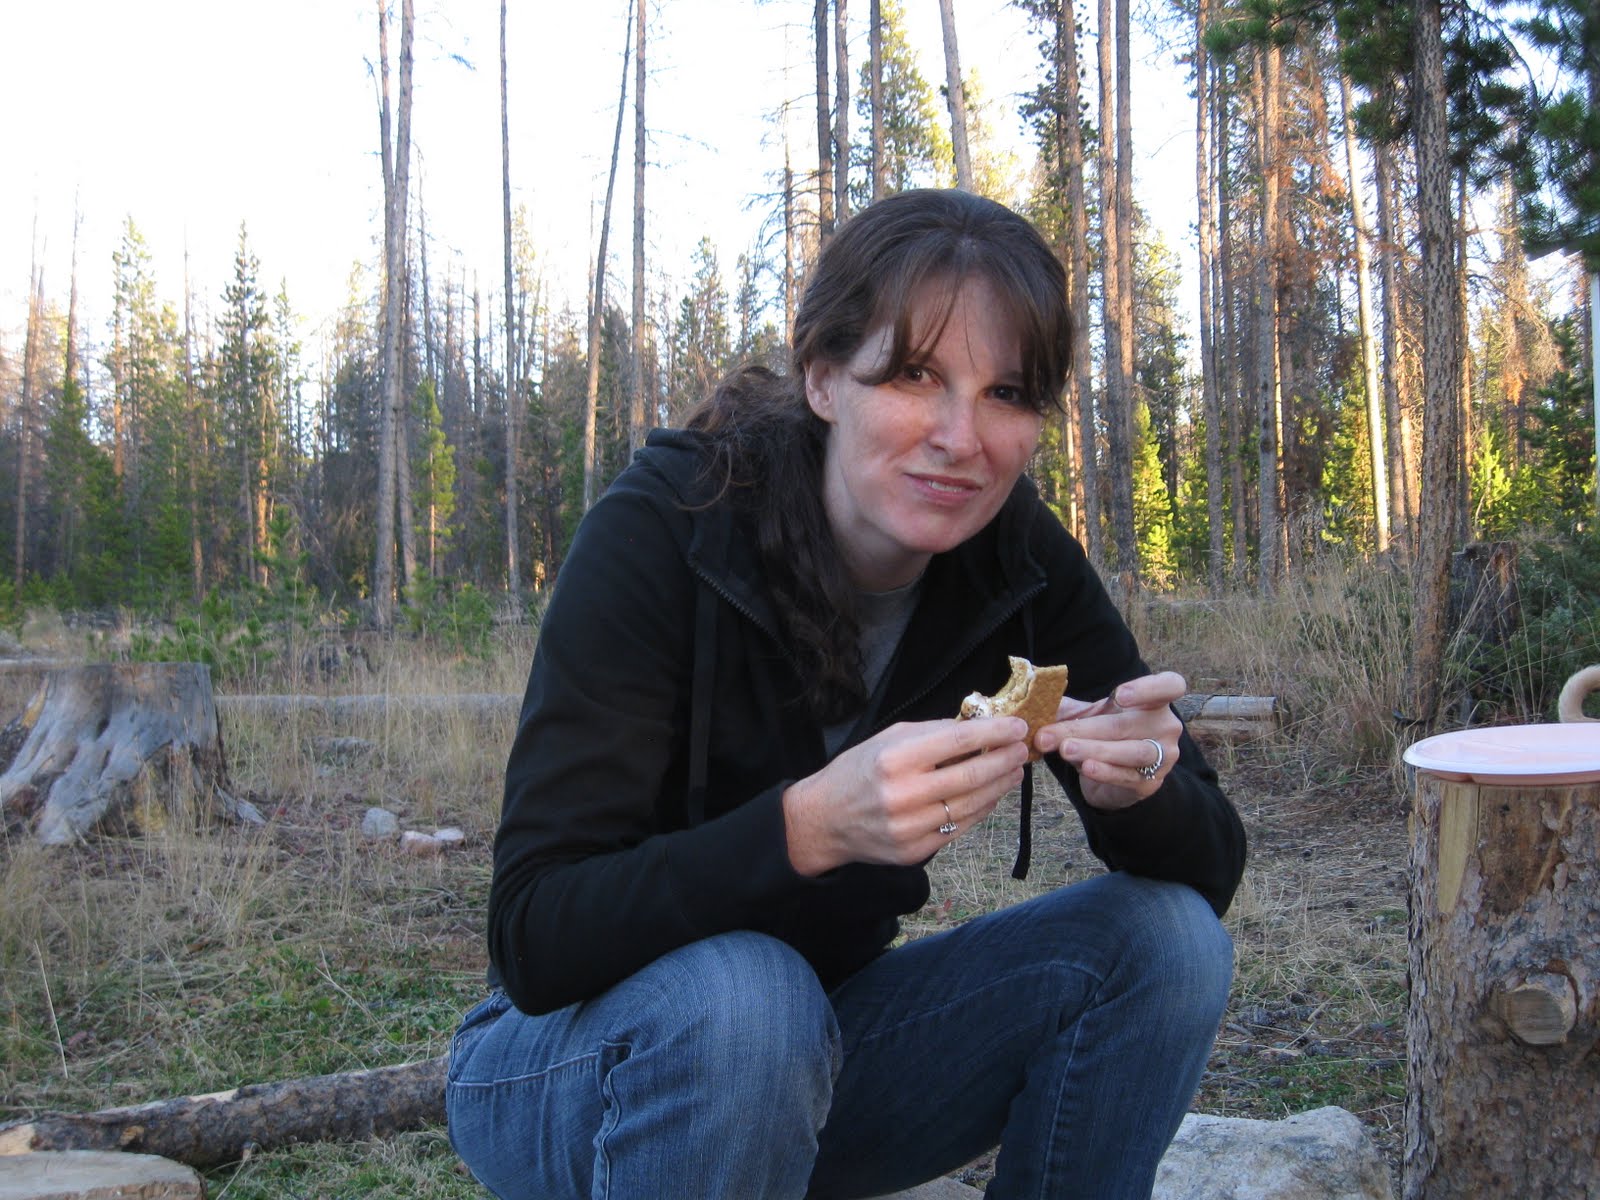
I think it all started when I was teaching Kindergarten.  We would organize a special day filled with gingerbread.  Parents would come into the classroom on the last day before winter break and help with the magic.  There were gingerbread waffles topped with homemade whipped cream.   Yummy!  Both were mixed with little hands.  The children loved it.  Ok, so I loved it also!


 Here I am with one of my students, Hannah.  We were working on pine cone bird feeders as a rotation on the gingerbread day.  See her name tag?  We color coded the groups to keep everyone organized.  Don't you just love those overalls?

Then came milk carton houses decorated with graham crackers and lots of candy.  I do have to say the prep for this project was not my favorite.  Just imagine rummaging through the garbage to save the cartons and the smell of rotten milk while rinsing them out.  In the end, it was all worth it to see the excitement and joy on the kindergarteners faces.


This gingerbread day was one of the most exhausting of the year, even still I am so thankful we did it!  It created a lasting memory,  hopefully in the hearts of my students...if not, in my own.

Last year, my twins were in kindergarten and I knew that a special day of fun was not in the standards, so I made it a party at our home for 15 of my kids' closest friends.  Everyone had a blast, so I planned another party for this year.

First, the invitations...I wanted to do something a little different than a photo card invite (like last year).  So when I found this blog Twin Stitchers, I knew this would be perfect.  I wasn't sure, if my kids would be able to personalize 20 invites, but they had no problem being crafty.  I wonder where they get that from?  They water colored some and used markers with the others.  And lastly, I wanted to add a bit of snow...just wet a paint brush with water, paint on where you want the snow and then sprinkle with salt.


Second, the prep!  Last year, I made gingerbread pieces and then assembled them.  This year it was all about graham crackers!  I used this tutorial Make Gingerbread Houses Using Graham Crackers and they really turned out great!  Plan for it to take about 3 hours for 20 houses.  I used this recipe for the frosting glue Royal Icing.  I would suggest decreasing the amount of water by a tablespoon, to make it thicker.  I put it in a wilton frosting bag with the tip #12.  If you don't have a tip, just put the icing in a decorating bag and snip the end.


Third, games.  I found these games on pinterest, seen  here and here.  I set them up in our basement, but I don't really think they were played much.  The kids mostly played with toys and a basketball hoop down there.  Oh well, I tried!


Fourth, story time.  I am a teacher through and through.  I set up the story The Gingerbread Man retold by Jim Aylesworth, on tape and had everyone share a book.  This brought all the kids together in a quiet manner, while the houses and candy were placed on the tables.


Fifth, decorating.  Last year, I put the frosting-glue in Ziplocs.  This year, I had thought about getting the reusable squeeze bottles and then realized after the party I would have to wash 20 of them.  That idea was replaced with the Wilton decorating bags, which worked perfectly.  Put the frosting in a bag, twist the top and secure with a rubber band.  Then place these into a large Ziploc to prevent them from drying out.  To decorate 20 houses I used 6 pounds of powdered sugar.  I also didn't want to purchase a ton of candy, so on the invitation I asked that guests bring a bag of candy to share.  This allows for a huge variety!


 This is my husband, who thinks I am a bit crazy to put on such a large party, and our happy little guy, Ryan.
 This is a picture of my sister and her two cuties!


Trevor had a great time with all of his friends.
Here Julia is showing off her beautiful creation.
These are my kids gingerbread houses!  They are quickly being eaten.

Lastly, party favors.  This may not be necessary...and honestly I forgot to give them to half of our guests.  I burned cd's with favorite Christmas songs and placed them in sleeves.  This is the picture I put in the window of the sleeve.

Saturday, November 19, 2011

December Craft Night

I can hardly believe it...I wanted to have a monthly craft night and this will be the third month and going strong.  I started one last year and it lasted one month.  Kind of sad, since I really enjoy crafting, finding fun crafts (serious blog stalking) and getting together with fun girls. Yeah, so glad I started it again!

December craft night will be on the 2nd at 7:30pm.  I know that is coming up quickly, so look at your calendar and decide now if you would like to come.  For the vinyl projects I need to know at the latest by November 23rd.

#1- Vinyl Tiles - $10 (Includes 12 x 12 tile, vinyl.  These would make great gifts and there is no paint or mod podge involved.)


#2- Popsicle Stick Ornaments $3 each (includes popsicle sticks, hot glue and spray paint) as seen on Crafty Nest.


#3- Wood Block Ornaments $2 each (includes wood block, metal hook, paper, ribbon, you provide the picture) as seen on How Does She


#4- 10 x 24 Christmas Subway Art - $18 (includes vinyl words, paint and board)  Yours would have a solid background.  You can choose what color goes with your decor.


#5- 10 x 12 Christmas Subway Art - $14 (includes vinyl words, paint and board) You can choose what color goes with your decor.


#1, 4 & 5 are designed by Landee See Landee Do and Say Anything Expressions

#6 -Book Trees - Free, bring your own paper back book, as seen on Creative Tryals


Come on...you know you want to come and be crafty!

Saturday, October 29, 2011

November Craft Night

It's two weeks away...November Craft Night- November 11 at 7:30.  There will be fun, friends, sweets and of course crafty projects. Four choices this month and if you can't make it, don't worry there will be another one in December with these choices plus a couple more -please message me if you can't make it and I will prep your things for the next month.

#1 - 10 x 24 Christmas Subway Art - $18 (includes vinyl words, paint and board)  Yours would have a solid background.  You can choose what color goes with your decor.
 #2 - 10 x 12 Christmas Subway Art - $14 (includes vinyl words, paint and board) You can choose what color goes with your decor.
These first two are designed by Landee see, Landee do
and Say Anything Expressions  
 
#3 Bead Board Candy Cane - $7 (includes bead board, paint, raffia) seen on Positively Splendid
#4 - Wood Block Ornaments $2 each (includes wood block, metal hook, paper, ribbon, you provide the picture) as seen on 
Choose as few or as many projects as you would like.  Let's be crafty and have fun!

Friday, August 12, 2011

Party Favors

My twins turned six last Friday!  I can't believe it.  I remember bringing them home from the hospital and being completely overwhelmed with the thought of having two babies.  There have been so many instances where I found myself in a hard place.  Being a mom is really hard sometimes, OK, a lot of times.


This is a video I took one afternoon when both babies were hungry at the same time.  Are you laughing?  I am.  Isn't that funny?

Six years have flown by, they haven't been easy.  But I am thankful for the memories and the fun times we have shared together.  Aren't they cute?


This year my husband and I decided to have the twins' party at a nearby park rather than at our home.  The main reason was the sheer number of guests our kids wanted to invite.  With twins, it is like having two birthday parties at once.  We may separate their birthdays' in the future, but for now this is working for us.

Let's talk party favors...Either you have them or not. Either they are junky or useful.  I wanted them to be different and useful.  Since we were having the party on a hot summer day I thought I could make personalized water bottles.  I found these bright fun bottles at the Dollar Tree and used my wonderful Silhouette to cut out the names.  I used clear contact paper to adhere the names to the bottles.  At first I had the names wrapping around the bottle, but after chatting with a crafty friend, I decided to place them vertically.  Didn't they turn out great?


If you don't have a vinyl cutter, Micheal's sells vinyl stickers or you could go with a company like http://www.mytalkingwalls.com/. I have used this one (before I took the leap and bought a Silhouette for my birthday last year) and found her reasonably priced and fast.  She will send you the vinyl and you can adhere it where ever you would like.

The only problem with these water bottles was when dropped on the ground they broke.  I did not foresee that happening.  I guess, that is what I get with the $1.00 water bottles.  Next time, I would choose a metal bottle or a sturdier plastic.
 My crafty friend, Jen, that I spoke about earlier liked my idea so much she decided to make some for her son's party favors.  She threw him a robot themed birthday party.  Don't you just love the font she chose?  The metal also looks so sturdy and robotesque!


Linking up with: http://www.skiptomylou.org/2011/08/15/made-by-you-monday-62/

http://www.tipjunkie.com/homemade-projects-816/
http://somedaycrafts.blogspot.com/2011/08/whatever-goes-wednesday-79.html
http://bearrabbitbear.blogspot.com/2011/08/crafts-for-under-twenty-somethings_17.html


Monday, August 1, 2011

Minnie Mouse Ears

Today, I wanted to show you a project I made a few months ago for a good friend and her girls.  They were headed to Disney World and of course I needed to make something to get them excited for their adventure.  I found this idea at  http://kimboscrafts.blogspot.com/2011/04/weve-got-ears.html 
and thought they would be perfect!  I followed the tutorial, using ribbon from Walmart, black felt (I have a huge assortment stored in our basement) and hair clips from another project.  This was a quick project, that I finished in an hour (3 pairs).  My husband loves when the crafting materials don't sit on the counter for a week.

My husband and I told our twins we would take them to Disneyland when they were five...sadly they are turning 6 this Friday and we have yet to go.  Now we say, "Let's go when our little guy is 5."  That's two years away.  Are we missing out on the excitement for young kids?  Or making a good choice because then they will be able to ride on more rides?

Monday, July 25, 2011

Pipe Curtain Rods

In our kitchen there is an enormous sliding glass door.  When we moved into our home four years ago,  there were vertical blinds hanging in front.  Well,with twin two year-olds playing hide and seek behind them, the blinds started falling down one by one.  My husband would try to fix them but we knew they needed to be replaced.  Last summer, I purchased a super long curtain rod and heavy brown curtains from overstock.com to hang there.  (The rod was $70!)  We hung them up and realized that the curtain rod had a split in the middle (it is there so you can adjust your rod to your desired length).  This meant that the curtains did not slide back and forth easily.


I can live with things like this...but my husband cannot.  This is one of those things that would drive him crazy every morning when we would open them and every evening when we would close them.  To his delight I came across a blog that described using a PVC pipe as a curtain rod.  http://alittleofthis---alittleofthat.blogspot.com/2010/03/pvc-pipe-curtain-rods.html

Guess where my husband went the next day?  Home Depot to get all the items I needed.
Pipe - $13
Primer - $3
Spray Paint - I had black.
Corks- A good friend gave me a couple.

Because we had heavy curtains we went with a pipe instead of PVC.  You can cut the pipe yourself or have it cut, which we opted for.  I lightly sanded the pipe, then primed it and spray painted it black.  Once it was dry, we used the same hardware to hang our pipe.

I also wanted to use the same finials, but there wasn't a way to screw them in...then I came across this blog which showed using corks.  http://inmyownstyle.com/2011/04/how-to-make-a-curtain-rod-and-finials.html I hammered a nail into the cork, then removed it and stuck the end of the finial in the hole.  Yeah it worked!  Then I slid the cork into the hole in the pipe!


This may be the only project I have made that has excited my husband!  I am planning on using PVC pipes for my little boys' room.  Sadly, I never open his curtains because I am afraid the rod is going to fall down.  He also has a huge window in his room, so the rod is stretched to the max.  Then we can let some light shine in.

I am never going to buy another curtain rod and I hope you don't either.  Make your own for a fraction of the cost!

Monday, June 27, 2011

S'mores, Books and New Friends

Let me just tell you, if you don't already know, I love chocolate.  I love See's, Cabury, Hershey, Nestle...the list goes on and on.  While I was in Europe for three months after graduating from college, I sampled so many treats I actually gained 20 pounds.  There were crepes with nutella and banana, pasteries and cookies, chocolate crossants, chocolate bars from Belguim and Switzerland.  Yummy!  So it might not surprise you that I love S'mores.  I have seen so many recipes around blogland for S'more treats, that I just had to test one out.  I found this recipe for S'mores bars at http://alchemybaking.blogspot.com/2011/06/smores-bars.html 
They turned out delicious!

Here are a few more links of other S'morelicious recipes:
S'mores Cookies at http://outlawmommy.files.wordpress.com/2011/06/p61966621.jpg
 S'more Cake Pops at http://theoutlawmom.com/2011/06/24/truffle-brownie-smore-cake-pops/

S'mores cupcakes at http://annies-eats.net/2009/11/16/smores-cupcakes/
I couldn't download this picture, but click here.  They look so tasty.

I made the S'more bars to bring to a book club on this past Friday night.  I love to read.  I remember when my sister, Lena and I were sharing a room.  I was on the top bunk and I loved to stay up late and read.  She did not, so I was forced to drape my comforter over the bunk bed to shield her from the light.  That worked for a while, but then she would wake up and unplug my light, since she was on the bottom bunk.  That makes me smile to think of that time.

Well, I still like to stay up late and read.  I was excited to join a new book club.  Book Clubs can be so much fun and really get you to step outside your normal reading box.  The book we read this month was The stories I only Tell My Friends by Rob Lowe.  Now, this is a story I wouldn't normally pick out to read but I found it interesting and well written.  I was a bit nervous Friday night to be joining a group of women whom I didn't really know.  Thankfully, they welcomed me in and I felt very comfortable to be a part of their special club.  The hostess, was thinking the same thing I was...she baked her own graham crackers and we made traditional S'mores for dessert.  Delicious!

Enjoy the summer with a S'more! 


This picture was taken last Fall at Grand Lake, Colorado.

Wednesday, June 22, 2011

I see it. I like it. I do it.

I love this slogan!  It describes me to a tea.  (I found it on http://landeeseelandeedo.blogspot.com/ .) I love to check out blogs on most everything... crafts, baking, decorating, kids stuff.  I have been bookmarking blogs and ideas I want to make or do and just realized today I have maxed out my bookmark capacity.  I didn't even know that was possible.

I was recently inspired to start posting the projects I am working on.  I was having a delicious treat with some friends (while all of our kids were at vacation bible school) and was talking about some crafts that I had made for Father's Day gifts.  My friends sounded interested and excited to start crafting.  I began thinking about the blog I had started months ago to benefit from Shutterfly's deal of 50 free photo cards and decided to become a blogger.

My husband calls me a blog stalker and I admit, I am addicted to blogs.  That is where my blog name came from: Confessions of a Blog Stalker.  (http://www.thediaryofdaveswife.com/ was already taken.)  People think I am creative, but really I just find a project that someone else has posted and make it.  I hope you find my posts interesting and that they get your own craft juices flowing.

My most recent project I found on http://www.peanuttoprincess.com/2011/04/shabby-giraffe-applique-tutorial.html.


I saw it months ago and bookmarked it to make someday.  My nieces first birthday was last week and thought this would be a great addition to her present.  I love to make things for people.  It makes a gift more personal and thoughtful.  I thought the giraffe might be a bit large for her shirt so I opted for a butterfly.  I followed the tutorial listed and didn't have any problems.  I loved my sister's response...impressive.  Who doesn't like to impress?