Monday, March 5, 2012

Book Page Decorations

It was my turn to host book club this month.  So I decided to decorate for the occasion with book pages (taken from a past book choice - The Hangman's Daughter).

I started with a book page banner found at simple as that.  This was a quick craft that my daughter Julia helped me with, and later made one of her own for her door.


I also enlisted Julia and Trevor to watercolor book pages to hang from my branch.  I saw this somewhere on pinterest that was done with fall leaves, but didn't end up pinning the idea so I am not sure who to credit.  For the left over clovers I placed them in the glasses to add some fun and also used them to spruce up my heart wreath I made at the last craft night (idea from Flower Patch Farmgirl).


I love crafting with book pages, there is just something about words and the black/white combo!

Do you like the "Oh so LUCKY to have you!" print?  You can find it at A Little Tipsy.

My Spring-Pinterest Mantel

I love spring all most as much as I love fall!

I know it's not officially spring yet, and I am sure we will be hit with a lot more snow.  But for now, I want to relish the sun and the thought of my bulbs sprouting (soon).  I have been gathering many fun ideas via pinterest for St. Patrick's Day and spring.  Here...all the ideas came together!  I know I need something more in the center...it just hasn't come to me yet!  Check back for tutorials and links for all the fun crafts.


Tuesday, January 24, 2012

Valentine's Day Projects

Last week, I hosted a fun craft night.  Well, it is always a fun night when there are crafts and gals involved.  We made personalized conversation hearts, heart book page wreaths and not so valentiny (is that a word?) name tiles.

My favorite was the valentine hearts!  I saw them on pinterest and quickly pinned them to my Valentine board.  The idea is from The Peanut Paintshop.  And what a great idea it is!


This is something you can do at home.  First, get large hearts from your nearest Hobby Lobby.  (If they don't have enough, you can place an order.  For the craft night I ordered 50!) They are around $1.50.  I checked Micheal's, but sadly they don't carry them.  Second, choose your paint colors.  I opened up a pack of conversation hearts in the store to try my best at matching the colors.  Third, paint your hearts and let them dry.  Fourth, put on your vinyl names.  You could also use letter stickers from any craft store.  Fifth, use your trusty hot glue gun to adhere ribbon to the backs of the hearts.  ( I found this cute polka dot ribbon at Micheal's and at Walmart.)


For the top, I tied a knot, trimmed the edges, and then singed them with a lighter so they wouldn't fray.  Lastly, hang and admire!

Check out one of my friends' conversation hearts seen on her new blog Creative Preschool Resources.

I am linking up at Whipperberry and Every Creative Endeavor.
And...Tatertots and Jello

Saturday, January 14, 2012

My First Feature!

I love to find new blogs!  Here is a fun one that featured my post on making a T-shirt scarf. Yippee!!!  I can hardly believe it!  Go on over to check out this great blog Reduse, Reuse, UPcycle!

Tuesday, January 10, 2012

January Craft Night

It's time to get crafty!  Choose a craft from my ideas (or should I say ideas I found on Pinterest) or bring something you want to work on.  January craft night will be on the 20th at 7:30pm.  I know that is coming up quickly, so look at your calendar and decide now if you would like to come.  For the vinyl tiles I need to know at the latest by January 14th, and the other projects by January 16th.  Come and have some fun!

#1- Vinyl Tiles- $12 (Includes 12 x 12 tile, vinyl.)  These  make great gifts or something fun for your home.


#2- Personalized Conversation Hearts-  $4 each heart (includes wood heart, name in vinyl, paint and ribbon,  as seen on The Peanut Paintshop.


#3- Valentine Book Heart Wreath- $7 each (includes wreath form, hot glue, ribbon, bring your own book to punch hearts from)  as seen on Flower Patch Farmgirl.


Friday, December 23, 2011

Gift Idea...T-Shirt Scarf

I love to make gifts for people!  It shows that you spent time thinking about it and also creating or crafting it.  If you are feeling craft challenged, this is the perfect idea to get you going.  I had pinned a cute scarf shown here (on pinterest, my current addiction) a while back and decided to make a couple for gifts.

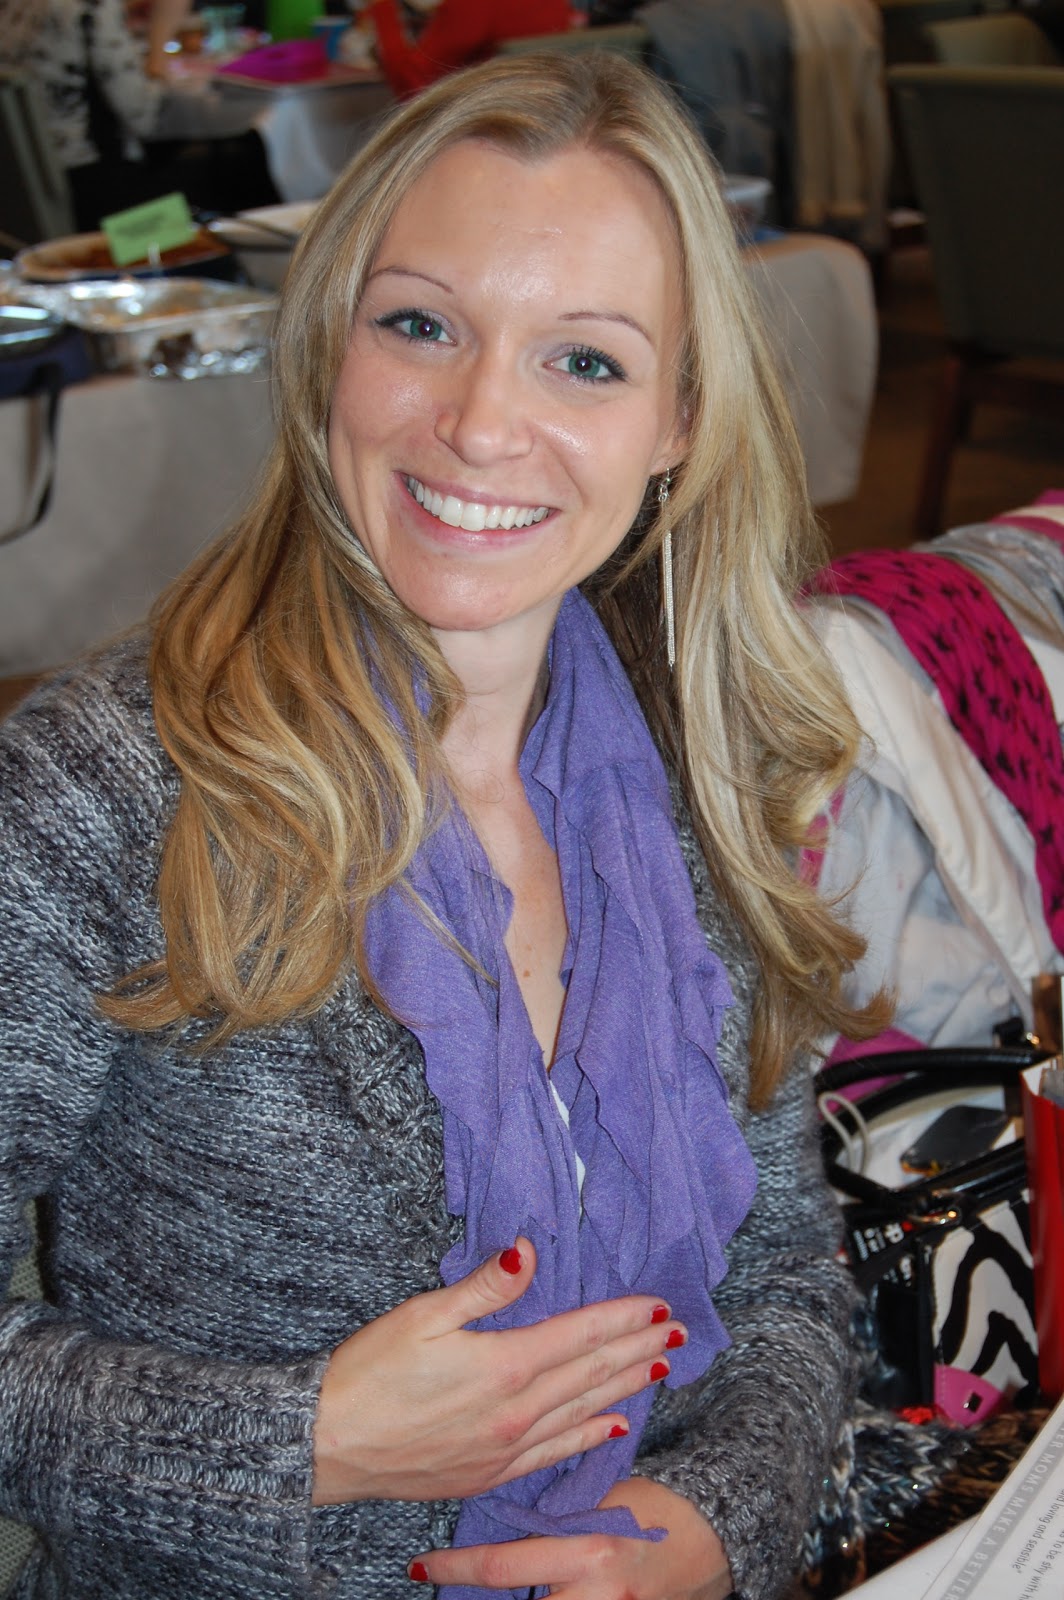
The first, I made for my secret sister in MOPS.  I found this nice, purple, maternity T-shirt at Old Navy for a great price in their clearance area.  Then I followed the tutorial shown  here and wah lah...here it is modeled by Krista.  She guessed it was me a month ago.  It must have been my crafty gifts that gave it away.  Oh well, it was fun giving secretly.  I also loved my gifts given to me by my secret sister.  She even got crafty and made a nature photo piece spelling out my name.


The second scarf I made was for an anonymous gift exchange through Craftaholics Anonymous .  This fun blogger matched us up and sent us the contact info in order to email and later send the gift out.  This is a total surprise which adds to the magic of the season.  I hope my secret crafter liked her new scarf!  Here I am modeling it.  I need to figure out how to take cute pictures in a mirror, like lots of bloggers do.


So...what have you been crafting?  Merry Christmas!

I linked up at Skip to my Lou

Tuesday, December 13, 2011

Gingerbread Decorating House Party

I think it all started when I was teaching Kindergarten.  We would organize a special day filled with gingerbread.  Parents would come into the classroom on the last day before winter break and help with the magic.  There were gingerbread waffles topped with homemade whipped cream.   Yummy!  Both were mixed with little hands.  The children loved it.  Ok, so I loved it also!


 Here I am with one of my students, Hannah.  We were working on pine cone bird feeders as a rotation on the gingerbread day.  See her name tag?  We color coded the groups to keep everyone organized.  Don't you just love those overalls?

Then came milk carton houses decorated with graham crackers and lots of candy.  I do have to say the prep for this project was not my favorite.  Just imagine rummaging through the garbage to save the cartons and the smell of rotten milk while rinsing them out.  In the end, it was all worth it to see the excitement and joy on the kindergarteners faces.


This gingerbread day was one of the most exhausting of the year, even still I am so thankful we did it!  It created a lasting memory,  hopefully in the hearts of my students...if not, in my own.

Last year, my twins were in kindergarten and I knew that a special day of fun was not in the standards, so I made it a party at our home for 15 of my kids' closest friends.  Everyone had a blast, so I planned another party for this year.

First, the invitations...I wanted to do something a little different than a photo card invite (like last year).  So when I found this blog Twin Stitchers, I knew this would be perfect.  I wasn't sure, if my kids would be able to personalize 20 invites, but they had no problem being crafty.  I wonder where they get that from?  They water colored some and used markers with the others.  And lastly, I wanted to add a bit of snow...just wet a paint brush with water, paint on where you want the snow and then sprinkle with salt.


Second, the prep!  Last year, I made gingerbread pieces and then assembled them.  This year it was all about graham crackers!  I used this tutorial Make Gingerbread Houses Using Graham Crackers and they really turned out great!  Plan for it to take about 3 hours for 20 houses.  I used this recipe for the frosting glue Royal Icing.  I would suggest decreasing the amount of water by a tablespoon, to make it thicker.  I put it in a wilton frosting bag with the tip #12.  If you don't have a tip, just put the icing in a decorating bag and snip the end.


Third, games.  I found these games on pinterest, seen  here and here.  I set them up in our basement, but I don't really think they were played much.  The kids mostly played with toys and a basketball hoop down there.  Oh well, I tried!


Fourth, story time.  I am a teacher through and through.  I set up the story The Gingerbread Man retold by Jim Aylesworth, on tape and had everyone share a book.  This brought all the kids together in a quiet manner, while the houses and candy were placed on the tables.


Fifth, decorating.  Last year, I put the frosting-glue in Ziplocs.  This year, I had thought about getting the reusable squeeze bottles and then realized after the party I would have to wash 20 of them.  That idea was replaced with the Wilton decorating bags, which worked perfectly.  Put the frosting in a bag, twist the top and secure with a rubber band.  Then place these into a large Ziploc to prevent them from drying out.  To decorate 20 houses I used 6 pounds of powdered sugar.  I also didn't want to purchase a ton of candy, so on the invitation I asked that guests bring a bag of candy to share.  This allows for a huge variety!


 This is my husband, who thinks I am a bit crazy to put on such a large party, and our happy little guy, Ryan.
 This is a picture of my sister and her two cuties!


Trevor had a great time with all of his friends.
Here Julia is showing off her beautiful creation.
These are my kids gingerbread houses!  They are quickly being eaten.

Lastly, party favors.  This may not be necessary...and honestly I forgot to give them to half of our guests.  I burned cd's with favorite Christmas songs and placed them in sleeves.  This is the picture I put in the window of the sleeve.